Finalizing Your Site’s Setup: Clean Up and About Me Page
GOAL: Prepare your OpenETC site for use by removing unnecessary content, organizing your layout, and personalizing your About Me page to represent your digital identity.
Task: Complete your About Me page by writing a short introduction that you’re comfortable sharing with others. Be intentional about the information you include and the image you choose—whether it’s of yourself or something that represents you. Aim for a layout that is both visually appealing and easy for visitors to navigate.
Key Term: Your digital identity is how you present yourself online. It includes the content you share, the tone you use, and the way your site or profile reflects who you are as a learner, educator, or professional.
Think of it as your online first impression—what others see, read, and understand about you when they visit your blog or digital spaces.
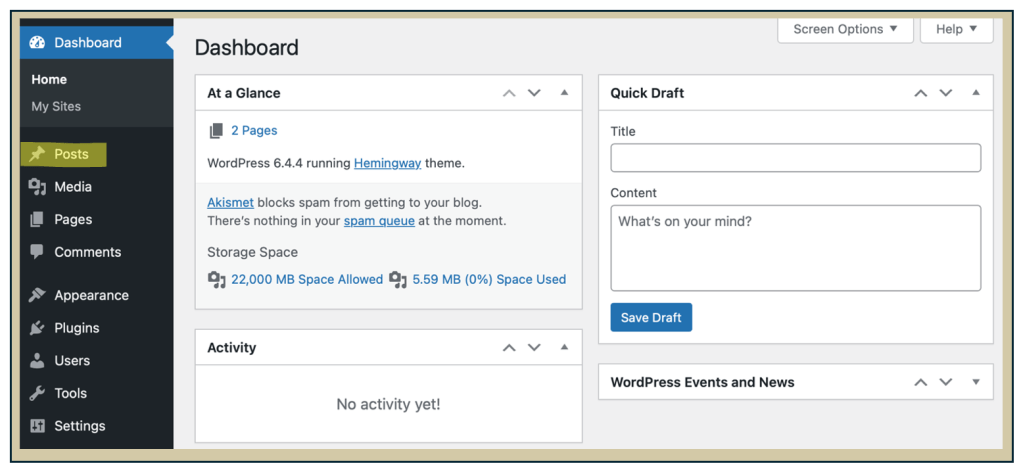
Navigate to your Dashboard by clicking on your Site Title Button in the top-left corner of the menu bar.
From the left-hand side menu in your Dashboard, click on Posts to view all of the blog posts on your site.
Delete any blog posts that were not created by you, such as the default “Hello World!” post or other sample content added by a template.
Important: Cleaning up default or sample posts helps make your blog feel more personalized and professional. Removing template content ensures that your site reflects your voice, your work, and avoids the generic feel of an unfinished site.
Task: Review your list of blog posts and delete any default or sample content that doesn’t belong to you.
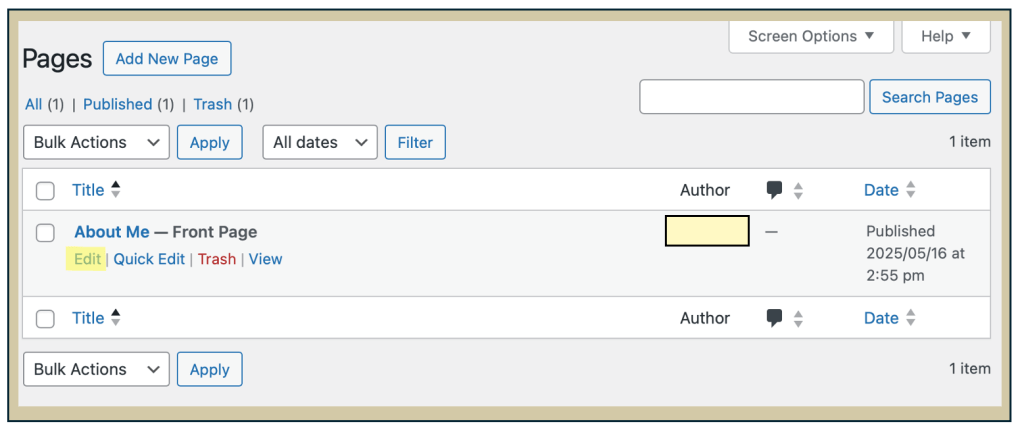
You can do the same cleanup process for Pages. Navigate to Pages from the side menu in your Dashboard and delete any default or sample pages that you did not create.
Task: Review your list of pages and delete any default or sample content that you didn’t create. Keep the pages that are relevant to your site—especially your About Me page.
Customize your About Me page to complete the setup of your site before you begin publishing blog posts. Navigate to Pages from the side menu in your Dashboard.
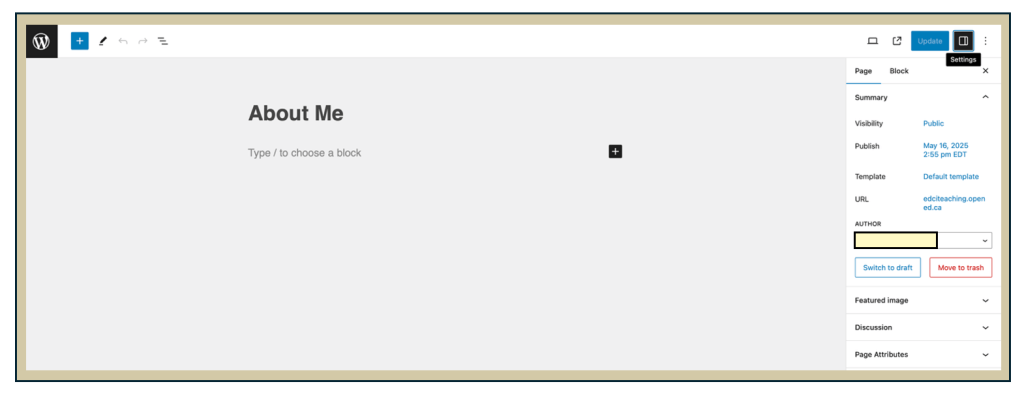
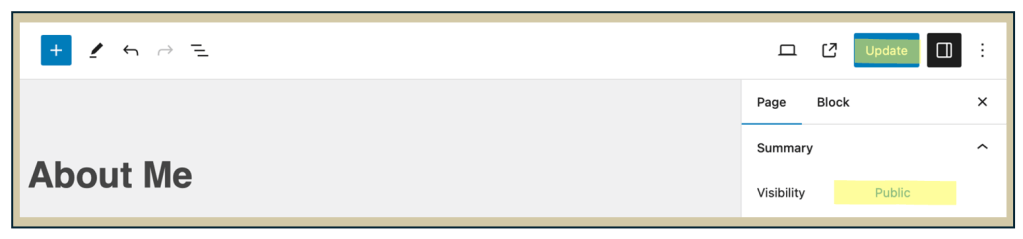
Ensure your screen appears similar to the example shown. Click the Settings icon in the top-right corner of the editor if the side menu isn’t visible—this will allow you to edit key page details.
Key Term: The Settings icon opens the Settings panel, which will be referred to as your settings moving forward. Make sure this panel is open—it allows you to categorize posts, edit page details, and apply the customizations required for your course.
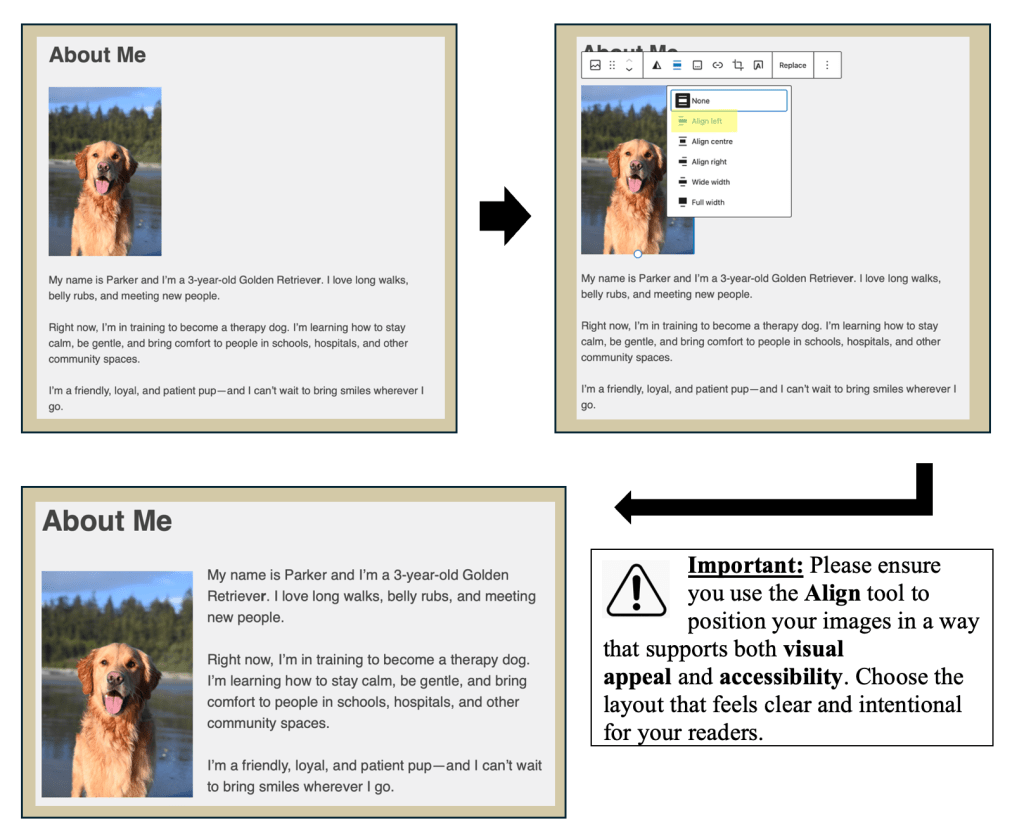
To add an image to your About Me page, click the plus sign (+) on your screen or type /image on a new line.
Important: If you feel comfortable, you may choose to upload a photo of yourself. If not, consider adding an image that represents something about you
Tip: After adding an image, click on it to access additional formatting options. Use the Align button to wrap text around the image—this helps your layout look more polished and less clunky.
Once you’ve finished customizing your About Me page, make sure the visibility is set to Public, then click Update or Publish (depending on what appears—both buttons are in the same spot in the top right corner).