
| GOAL: Set up the foundation of your blog by customizing key identity elements: your site title, tagline, homepage settings, and main menu. This guide helps you personalize your digital presence and prepare your site for content. |
- From your site’s Dashboard, click on your Site Title Button to navigate to your published site view.

- From your published site view, click on Customize in the black menu bar at the top of the screen.
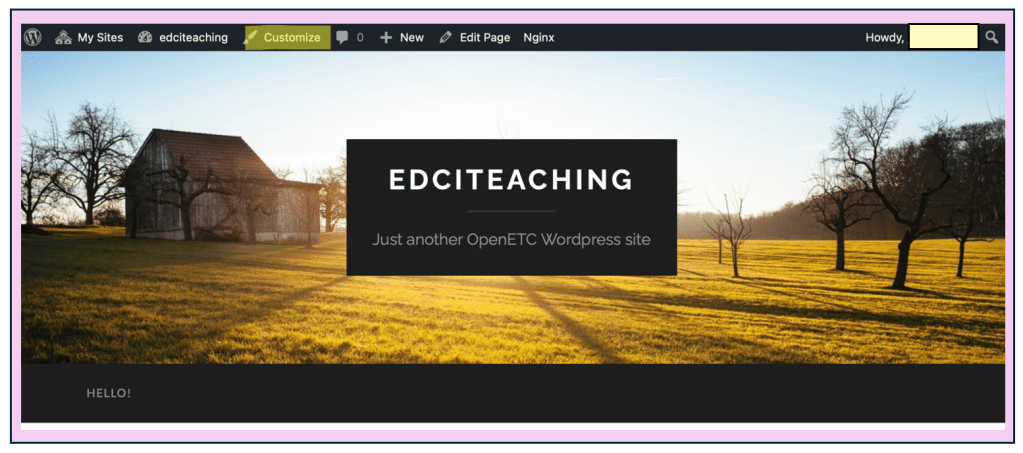
- This will open the Customizer, where you can adjust your site’s appearance, identity settings, and preview changes before publishing them (as seen below).

| Important: If you make any changes in the Customizer, be sure to click Publish to save and apply your updates. Changes won’t appear on your site until you do. |
| Task: Click on Site Identity to change your Tagline (required) and optionally update your Site Title. You can also choose to add a Site Icon (the small image that appears in browser tabs) and a Logo to personalize your site further (both optional). |
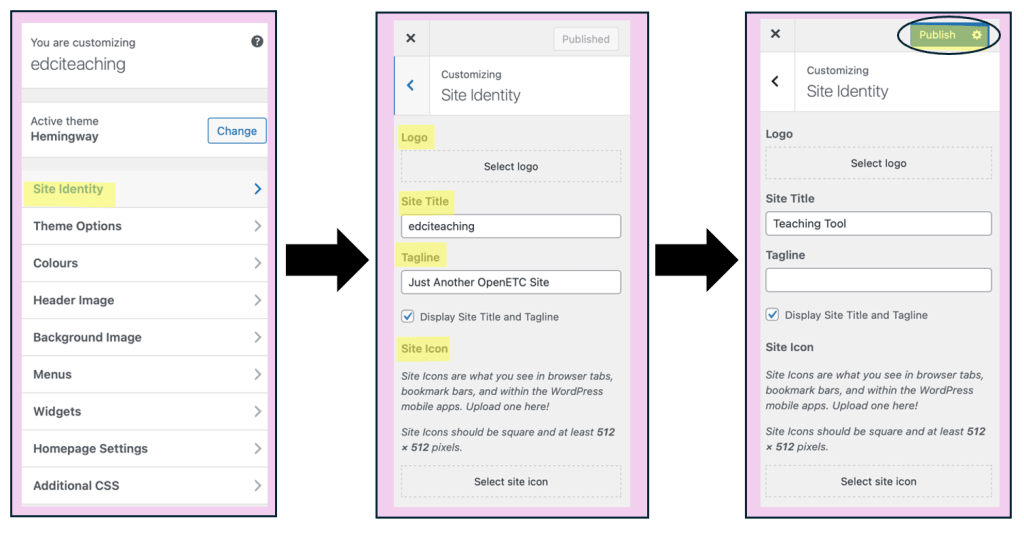
- After completing the steps in each subcategory, click Publish to save your changes. Then, use the back arrow in the Customizer to return to the main customization menu.

| Task: Use the Customizer toolbar to change your Header Image (required). You may upload any image you have the rights to use—this can include a photo you’ve taken yourself or a Creative Commons image. |
| Tip: A great place to start is Unsplash (https://unsplash.com), which offers high-quality images that can be used freely for personal, educational, and commercial projects. These images are licensed under the Unsplash License, which allows broad use—you can use them freely without needing to ask permission or provide attribution. |


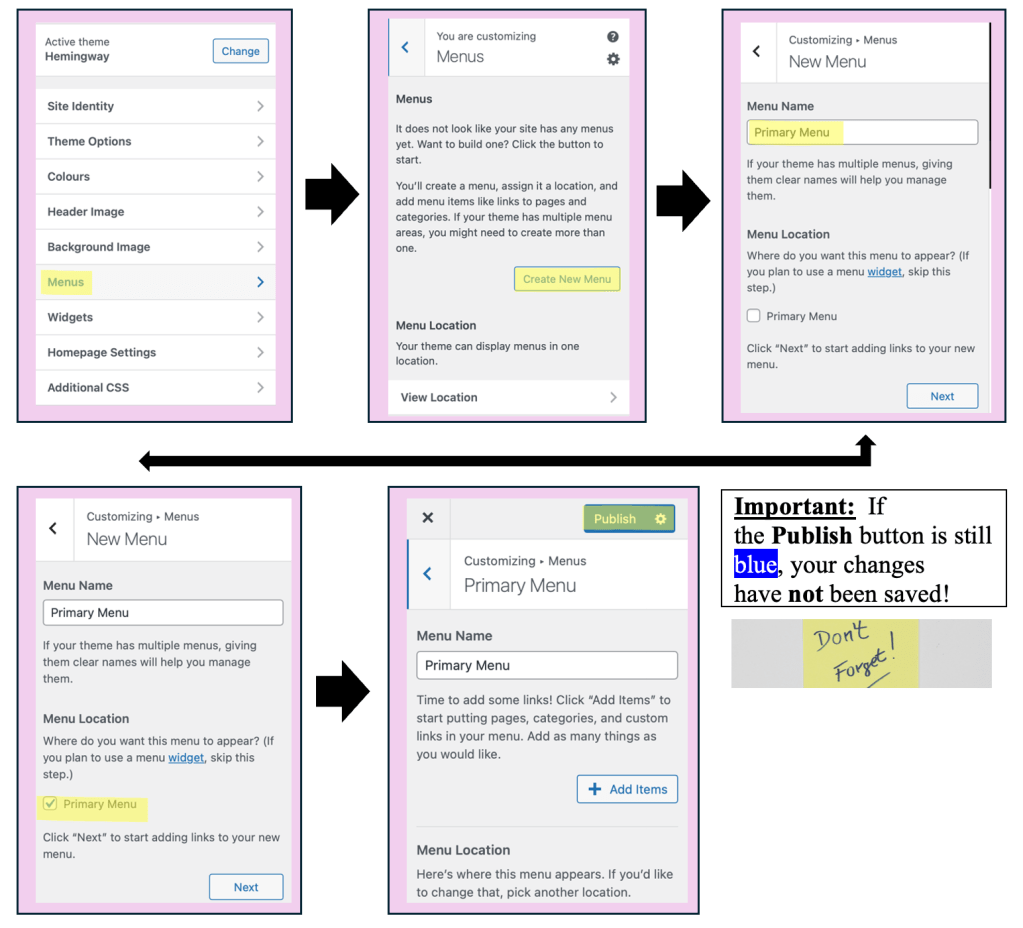
| Task: Use the Customizer toolbar to create your Menu. If you selected a course template that already includes a menu, you can skip this step. However, if your site does not yet have a menu, you will need to complete this task to ensure visitors (and instructors) can navigate your pages. |

| Task: Use the Customizer toolbar to adjust your Homepage Settings. This allows you to control how your site is displayed when visitors (including your instructor) first arrive. You can choose to display your latest blog posts or set a static homepage (like a welcome or introduction page). This decision shapes how others experience your site from the moment they land on it. |
| Tip: It’s recommended that you set your homepage as a static page. This allows you to create an About Me page that provides visitors with helpful context about who you are and what your site is for. |

Once you have completed the steps above, you can move on to the following guide: Setting Up and Displaying Your Site’s Menu
