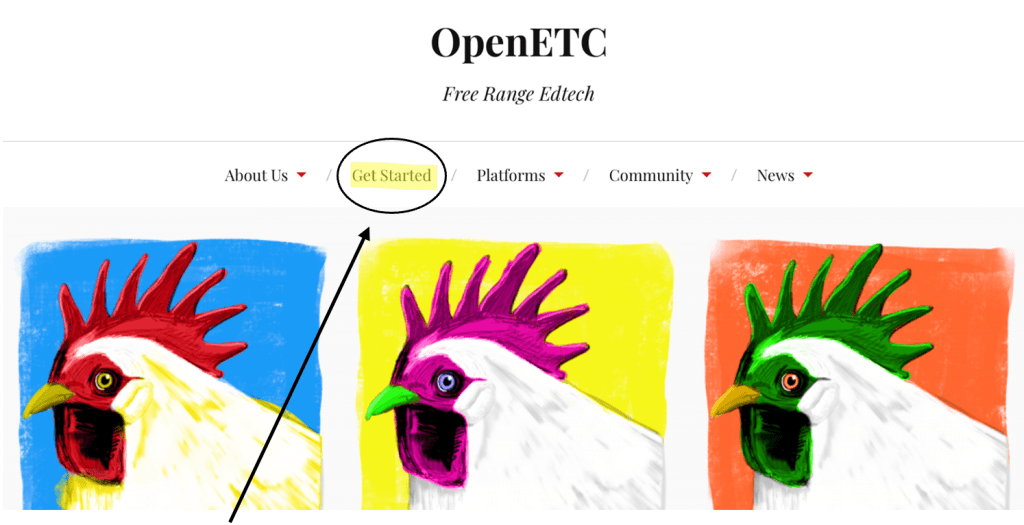
Select ‘Get Started’ from the menu at the top of the website.
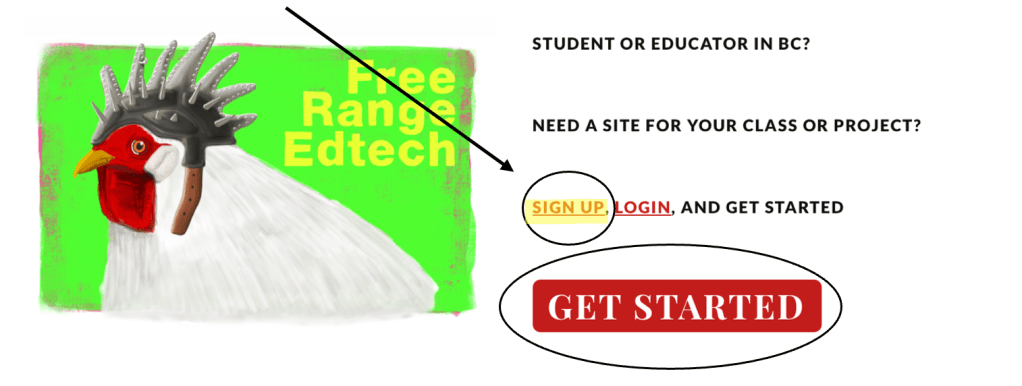
Click ‘Sign Up’ or ‘Get Started’
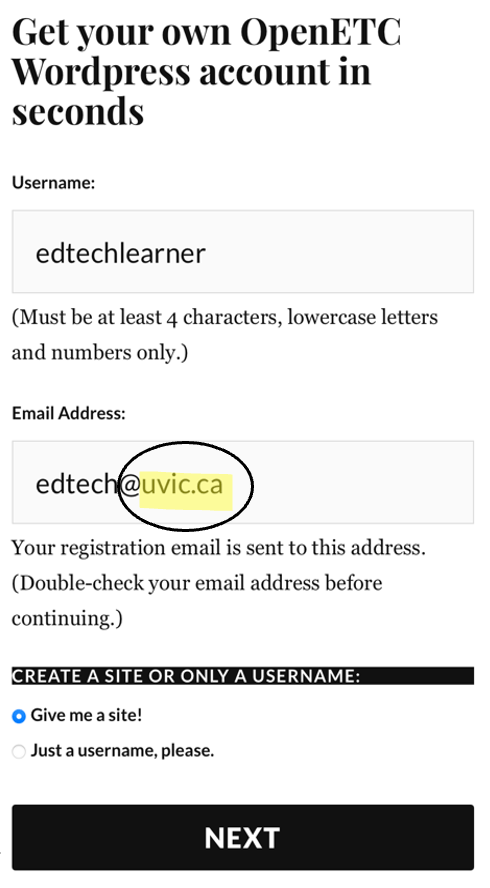
Fill out the ‘Username’ (i.e., edtechlearner) and your ‘Email Address’(i.e., edciteaching@uvic.ca) in the appropriate fields.
Important – This is just a sample username. You can choose your own as long as it is all lowercase letters and numbers.
Note – You need to ensure that you have inputted your UVic email address.
Choose whether you want to be given asite or a username only.
Important – Check with your instructor to confirm which option you should select for this section.
Click ‘Next’ once you have completed the two steps above.
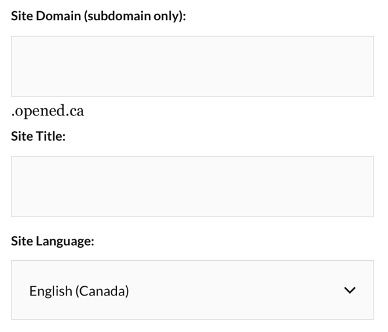
Choose a ‘Site Domain’ (you cannot change this later).
Tip – Consider choosing a site domain that is not directly connected to a specific course (i.e., edci136learning). This allows you to use your OpenETC site for a variety of purposes (personal, professional, academic, etc.)
Create a ‘Site Title’ (You can change this later)
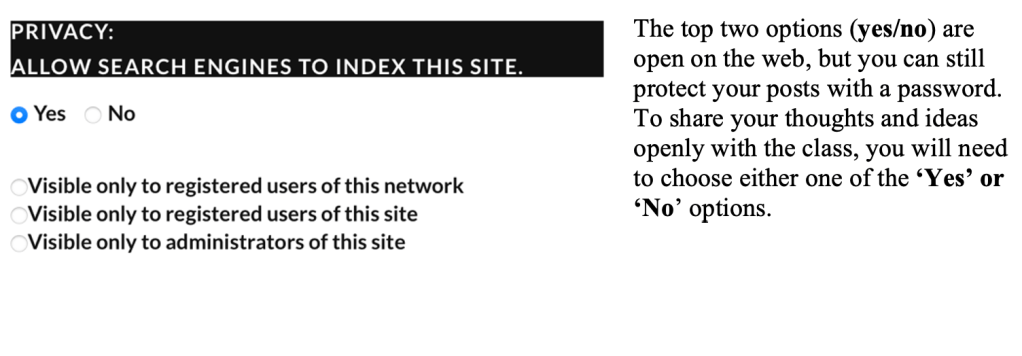
Choose certain ‘Privacy’ settings that match your comfort level regarding who can view your site.
Visible to registered users of this network – Only students and educators in B.C. who are logged into any OpenETC site can view it (email instructor first before choosing this option).
Visible to registered users and administrators – Only people you give specific permission can view and/or edit your site (email instructor first before choosing this option).
Important – You can make your site public, private, or visible only to logged-in users. You can always change this later in your settings.
Choose a ‘Site Template’ that corresponds to the specific course you are enrolled in.
Note – If you do not see the course that you are taking, choose the ‘Default Blank Site’ and work through the next guide on creating an OpenETC site menu.
Press‘CreateSite’ to finish the setup process and launch your blog.
Read the ‘Confirmation’ message from OpenETC.
Important – This site name will be replaced with the one that you registered with.
Log in to your site by adding /admin to the end of your blog’s URL.
Example – if you chose ‘edciteaching’ as your site domain, you would go to https://edciteaching.opened.ca/admin.
Important – The bolded part above is what you would replace with your own site domain that you registered.
Note that you may receive the message below after you set up your site.
This message means your OpenETC site is still being created. The setup process is usually quick, but in some cases, it may take up to a few hours or even a couple of days. If your site is still not accessible after three days, please contact your course instructor or lab instructor for support.