GOAL: Create and publish your first blog post. You will learn how to structure your content, apply categories, and ensure your post is visible to your instructors and visitors.
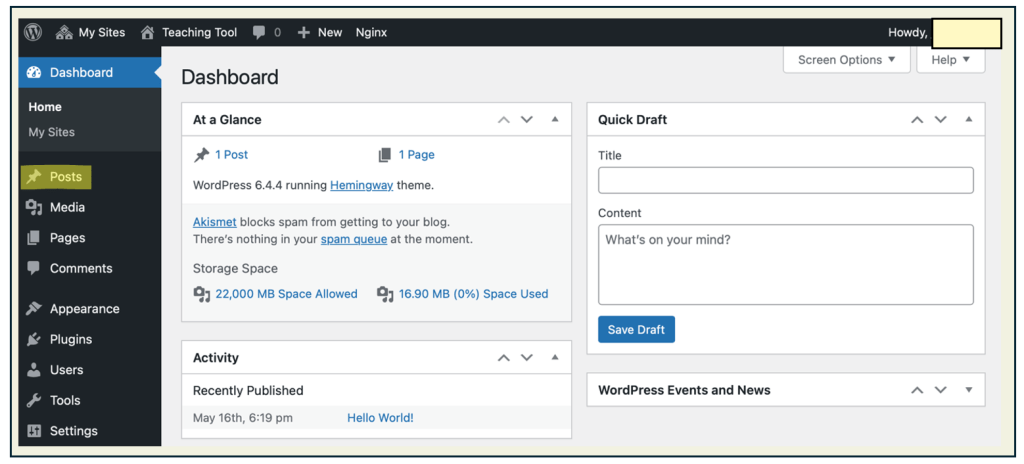
Click on your Site Title Button in the top-left corner of the menu bar, then select Dashboard to access your site’s main editing area.
From the left-hand side menu, click on Posts to view and manage your blog posts.
Important: Make sure that all the posts listed here were created by you. If you see any sample or default posts (like “Hello World!”) that you didn’t write, be sure to delete them to keep your blog clean and professional.
Click on the Add New button at the top of the page to start creating a new blog post.
Tip: You can also create a new blog post by clicking the + New button in the top menu bar and selecting Post from the dropdown menu
Ensure your screen appears like the example shown below. Click the Settings icon in the top-right corner of the editor if the side menu isn’t visible—this will allow you to edit key page details.
Key Term: The Settings icon opens the Settings panel, which will be referred to as your settings moving forward. Make sure this panel is open—it allows you to categorize posts, edit page details, and apply the customizations required for your course.
To finalize your blog post, you will need to press the ‘Publish’ button in the upper right hand corner.
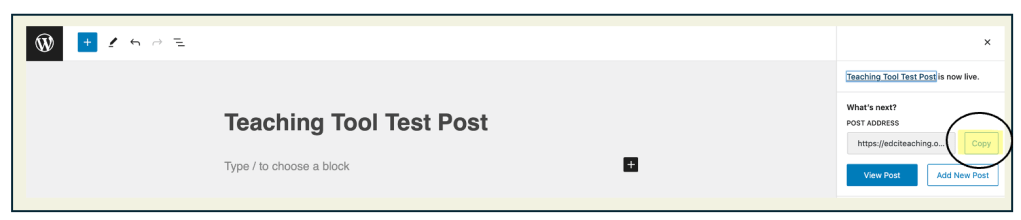
Depending on your course instructor, you may be required to submit a blog post URL. To do this, you will need to copy the ‘Post Address’ and submit to Brightspace.
Important: To ensure that you include all of the required aspects in your blog post, ensure that you follow the ‘Things to Consider’ checklist before submitting your post. This is available below and further explained in Guide #7.
Once the post editor is open, this is where you’ll add your text, images, and any other content you want to include in your blog post.
Important: You can create your post in whatever way works best for you—you might write all your text first, add images and links as you go, or build your post section by section. There’s no single “right” approach, but the tips below will help you shape your content into a clear, engaging, and well-structured blog post.