
| Important: To assign your post a category, you’ll first need to follow the steps in “Setting Up and Displaying Your Site’s Menu” (Guide #4) to make sure your menu is set up and your categories are created. |
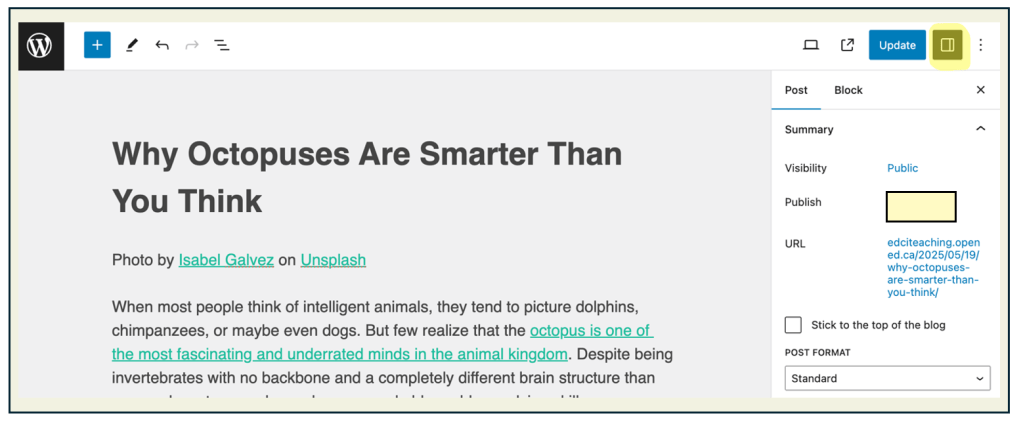
- To assign your blog to a category, you’ll need to make sure you have your blog post open and the settings bar visible on the right-hand side of the screen.
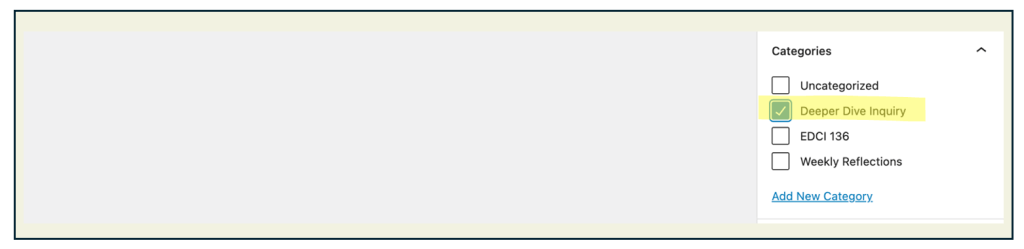
- You will then scroll down on the right-hand side until you see the dropdown menu of categories, and click it to open.

- A dropdown menu will appear showing the categories you created in the other guide. Click the category that your post belongs to. For example, if it’s a Deep Dive Inquiry assignment, click that category to assign your post correctly.
| Important: If you do not click any category, your post will remain Uncategorized, which means it will be inaccessible from your menu. |
- Make sure that you either press Update or Publish at the top of the screen to save your changes.

| Task: Open one of your blog posts and assign it to a category. Make sure to scroll down to find the dropdown menu, select the appropriate category (e.g. Deep Dive Inquiry assignment), and then click Update or Publish at the top of the screen to save your changes. |
